Establishing an effective Facebook Business page

With 2.5 billion people using it every month, Facebook offers access to a large pool of customers, and prospective customers. It’s also a great place to build a positive relationship with those customers, and get feedback on what is, and isn’t working.
Facebook must be a good option for businesses, or 140 million other businesses would not already in place and using Facebook Business Pages! Business Pages offer a range of tools and opportunities for businesses to engage with their customers, and to be recommended in order to find new leads and opportunities.
What is a Facebook Business Page?
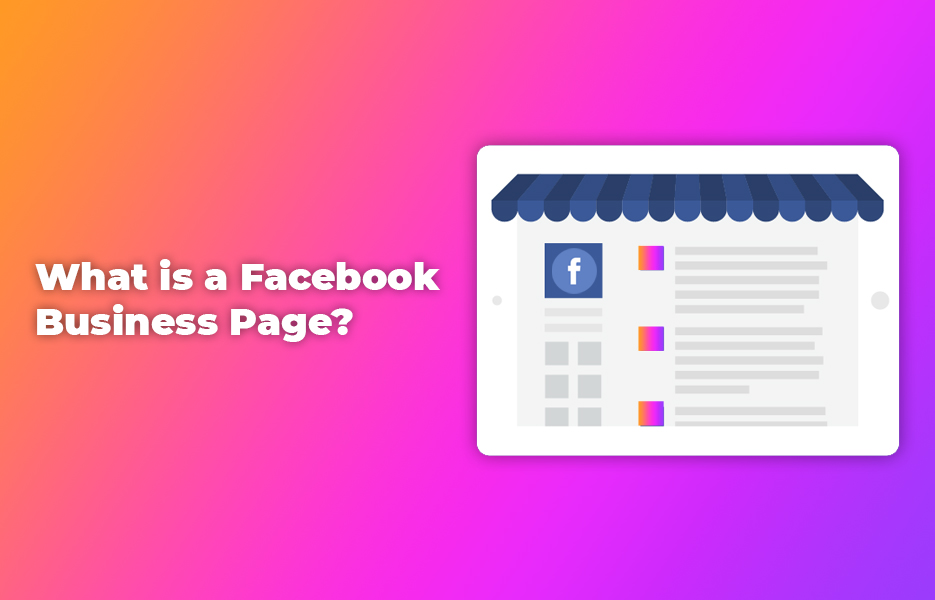
Facebook Business Pages are a construct that offers businesses, brands (as well as community groups and public figures independent of their personal accounts) the ability to engage and converse with Facebook users and groups without needing to be friends with each other. They also contain a wide range of tools to help you to monitor the performance of posts you make, and see how people engage with them.
Facebook pages are managed by Facebook users – You need a Facebook account to create a Facebook Business Page.
Why not just create a personal Facebook page for my business?
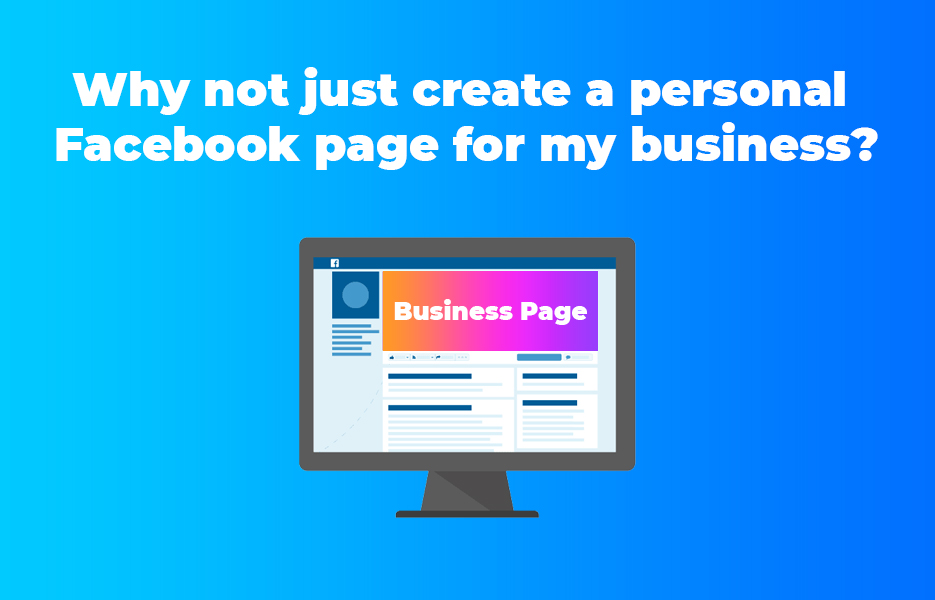
For people to easily interact with and follow a personal page, they need to be friends – Yes you can ‘follow’ someone, but you won’t see their attempts to chat with you if they aren’t a friend unless you go looking for it.
In addition, personal pages lack the analytical tools and insights a business page includes, as well as its content management and creation options.
What if you already created a personal profile for your business?
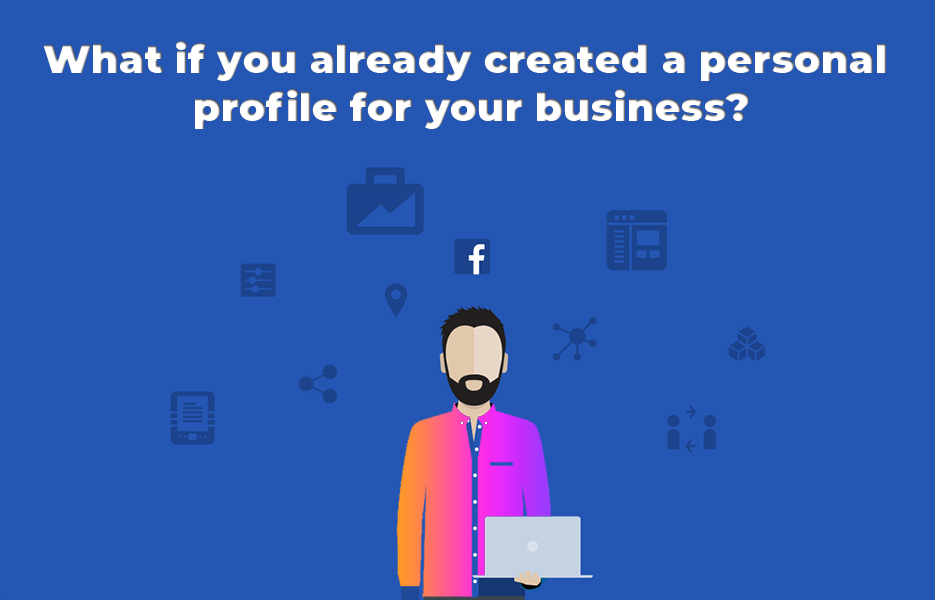
You can convert that profile into a business page. It will copy over your profile picture, business information, and your cover image. You can also pick from that profile’s followers, friends, photos and videos to copy across, Unfortunately, you cannot transfer over video views and other metrics.
To do so, you must go to this link, and then click the ‘Get Started’ button to begin the process.
What does ‘Verification’ mean?
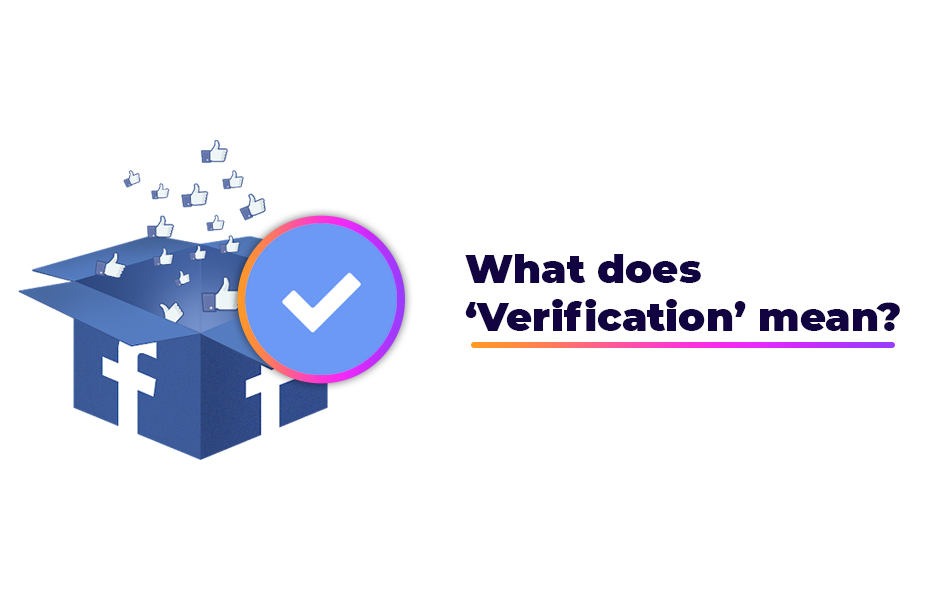
In Facebook, an account with a blue circle containing a white tick/check beside it is ‘verified’ – Whether a person or a page. Facebook only applies these to accounts that it is certain are the authentic presence for a person, company or brand.
A verified account must be:
- Unique – It can’t be a generic account representing an activity group. It must represent a brand. Only one account can be verified per brand.
- Notable – To be verified, there must be a reason that you would need to distinguish yourself from others that imitate you. Facebook will reference search activity, news sources and discount paid for or other promotional content when deciding if an account should be verified.
- Authentic – Facebook will not verify accounts for fictional entities.
-
Complete – The account must be filled out to a minimum standard for consideration.
o The ‘About’ section must be complete.
o Profile Photo must be in place and relevant.
o There should be 1 or more posts from the account/page.
A verified personal account will retain that status if/when transformed into a business page.
How does an account or page become verified?
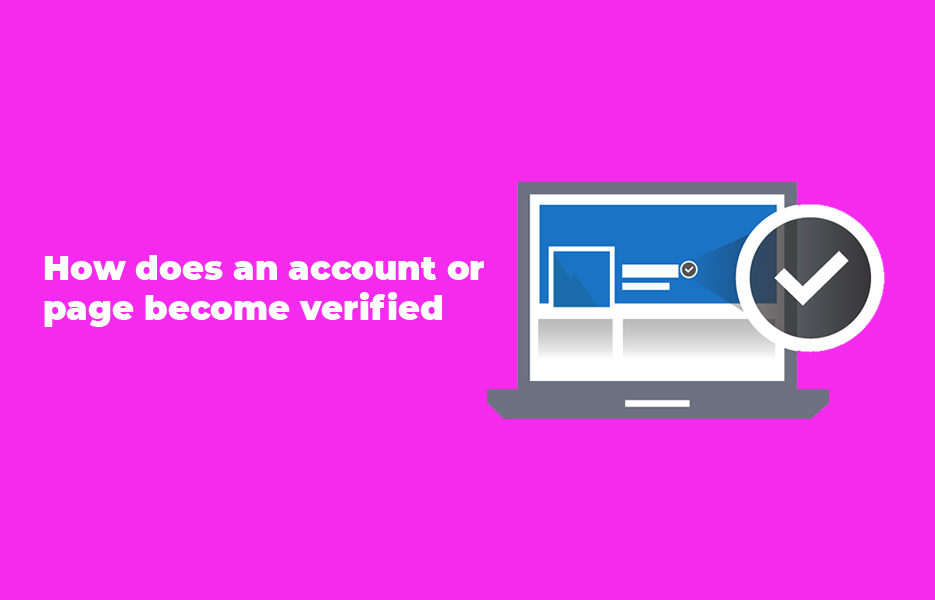
You have to apply for verification via a contact form. Notification of success and failure comes after the team have done the appropriate checks. If a request fails, another request cannot be submitted less than 30 days after the original request.
You’ll need information to help them confirm the verification. As well as a statement behind the reason for your belief the account should be verified, and any appropriate web addresses to illustrate, you need to provide scans or images of official documentation.
Individuals need to provide some form of government issued photo ID (Passport, driving license, citizen’s card, etc)
Organisations or companies will need to provide alternative information to verify their identity and validity (a phone or utility bill, and certificate of formation/articles of incorporation/tax exemption documents)
Please note – It’s a bit more stringent for politicians elected officials and law enforcement officials to gain verified status!
Can’t I just pay for a verified badge/status?
Facebook does not offer this status for sale – If contacted offering such a service, then you may happily ignore them. They cannot deliver on their promise, no matter how cheap the price.
How much does a Facebook Business Page cost?
Up-front and on a monthly basis, there is no cost to having a Facebook Business Page – It benefits Facebook to be the ‘go to’ location for business information and communication. There are affiliated services that will cost money, but we will look later at these.
How can I use my Facebook Business Page to benefit my business?

Facebook Business Pages give you the ability to promote your brand and products with posts and videos, show your customers where to find you (if you have a retail business or trade counter), and communicate with them, both through Facebook Messenger, or on your wall and comments on your posts.
In addition, you can create events, for sales for example, or even if you’re at trade shows or charity events. Facebook is a social platform, therefore it stands to reason that its uses are about talking to people and meeting them.
What are Facebook Promoted Posts?
As the number of people that like and follow you grows, Facebook will limit the proportion of your followers that can see those posts – Not always the same people, of course, it varies.
Therefore you need to ‘boost’ them, using the Facebook Promoted Posts feature to allow them to reach more people. You create the post as normal, then select the option to promote it, setting a budget. The bigger the budget, the more people can see it.
Facebook Promoted Posts may seem intimidating at first – Spending money without understanding the use or reason isn’t a great idea, as you well know. Because they are increasing the reach of your posts, then use them as another marketing tool – To reach more people to promote new products or services, promoting a new contest, but mostly for gaining more leads, and improving sales and engagement.
Contest/competition posts
One of the most common posts you’ll see from brands and businesses are competitions or giveaways. I’m sure you know how it works – A nice picture of a product or set of products, an invitation to:
- Like our page.
- Share this post.
- Enter at an external (non-Facebook) URL.
To be in with a chance to win…
What’s the optimal procedure to create a Facebook Business Page?
If you haven’t already got your business on Facebook, think of it as being as important as Google Business, because both locations have a lot of exposure and traffic.
Don’t forget the page owner and any admins MUST have a Facebook account. If you are creating one, then you should make sure it is secure and that you’re aware of the level it is able to be found by others – The information within could be useful to others if they want to compromise your identity, for example. If you are already a Facebook user, you should regularly review the settings, as Facebook do make changes periodically to the settings, defaults etc. – Sometimes these changes will apply changes to your account without asking you.
In addition, be aware that not having a Facebook account does NOT mean they are not aware of you – They have more information about users than they might realise, and may know you exist through the contacts and activity of friends and relatives.
Creating a Facebook Business Page
- Start off by going to the ‘create a page’ form.
- Click the ‘Get Started’ button.
- Select the ‘Business or Brand’ page option.
- Enter the name of your business as the ‘Page name’. Make sure it’s spelt correctly
- Select the correct ‘Category’ for your business from the dropdown list in that field.
- After that selection, there will be additional questions, these will vary dependent upon the category you choose.
- The information you entered will include your address and phone number – Choose whether or not these details should be shown publicly.
- Recheck the information on the form.
- Review Facebook’s Pages, Groups and Events Policies. You’ll be accepting those when you create the page.
- Click on ‘Continue’ to create the page.
Images
- Click on ‘Upload Profile Picture’.
a. Your profile image should be at least 170 pixels to a side. It will display on desktop at this size, and 128 pixels square on mobile.
b. As a brand, your logo is a good option for the profile picture. Alternatively, if your product is well recognised, you can use an image of your product(s) instead.
c. Because the image will be cropped to a circle, nothing essential should be in the corners.
d. Locate the file and upload it.
e. Drag and reposition the circular mask over the image to focus on the important area of the image.
f. The slider at the bottom of the ‘Create profile picture’ can be used to zoom in on the image and focus on a smaller area.
g. Click ‘Save’ when you’re satisfied. - Next click on ‘Upload a Cover Photo’.
a. Your cover image should be at least 400 pixels wide, and 150 pixels tall. Recommended size is 720 pixels by 315 pixels.
b. Cover photos should represent your brand essence and personality. Being displayed across the top of your page, it’s the most prominent image visitors will see.
c. Locate and upload the image.
d. When the image has been loaded, you can move the portion of the image that is displayed in the cover area if it is larger than the slot.
e. Click ‘Save’ when complete.
Customise the page address
When created, your page may not have the ‘best’ address. You can customise the username for your page (and the URL) to make it more appropriate to your brand when promoting it.
- Your customised URL ending can be up to 50 characters.
- Don’t use all 50 characters unless absolutely necessary – You want people to be able to remember and type the URL.
- Make sure someone isn’t already using it!
- In the left hand menu of your page, click on the option to ‘Create Page Username’.
- Under the ‘Username’ field, after the ‘@’ symbol, enter your preferred name.
- Check the spelling of the username.
- Click on the ‘Create Username’ button.
- This will open a pop up window to confirm the creation of the username and custom URL for your page. It will provide the custom URLs you need for sharing your page to others, and linking from your homepage.
Other information
Now that you have the links ready and the images in place, you need to ensure the page has all the right information in place, ready for when people visit.
- Click on the option to ‘Edit Page Info’.
- Complete the ‘Description’ field.
- The Description should not be too long, maybe 2-3 sentences. This field has a maximum size of 255 characters.
- Click on the ‘Save changes’ button when the description is complete.
- ‘Categories’ will contain the originally selected option from page setup. If you want to add more categories, you can do so here.
- Enter the term(s) you want to add, and Facebook will search it’s categories for a match. Click the one(s) you want to add, and they will be added to the list as a tag. Click ‘X’ on a category you want to remove.
- Click the ‘Save changes’ button to apply the changes you make.
- Amend any details you want in the Contact section to ensure what is shown publicly is correct.
- If you have a physical location for customers to visit – A shop, trade counter or otherwise, then check it is correctly displayed on the map in the ‘Location’ field. If you offer local delivery, it can also be added in this section.
- Click the ‘Save changes’ button if you make any changes.
Don’t’ forget that there are other options that can be filled out if suitable for your company – ‘Price Range’, ‘Impressum’ (this is only relevant to certain European countries, and contains a legal statement confirming your ownership of the company), ‘Hours’, ‘Privacy’ for a link to your privacy policy. ‘Privacy’ can be good to have as people become more aware of the dangers inherent in the loss of control of their personal information.
You can also add milestones for your company in the ‘About’ section – Awards, product launches, etc., to help people get a better idea of the achievements of your company and to add value in their eyes.
Your story
The final touch is the chance to make an impression on people by telling them what makes your business special, and why you deserve their interest (and custom!).
Your story is the place to describe your business’ offering – Products, services, etc., and what makes you special. It’s a chance to win over customers who are on the edge.
- In the left hand menu of your business page, click on ‘See more’.
- Click on ‘About’.
- Click on ‘Our Story’.
- Enter your content.
- Click ‘Publish’ to post the content to your page.
Posts
If you hadn’t guessed, once you’ve done all this hard work, you need to have some content to share that will make people buy from you (or recommend you to their friends!). This would ideally be original, but don’t forget that sharing great content from within your industry (Not from your competitors) is another way to maintain interest. Overall, though, don’t publish the new page empty – Why would people come back if they don’t think you’re investing the time and effort to provide a reason from the start?
There are more than one type of post, too – Events, offers – even jobs!!!
You can also use post scheduling on business pages (it’s part of the publishing tools), so if you have, say, 8 posts ready, then there is nothing to stop you publishing 4 straight up, and scheduling 4 more for release after publishing.
Don’t forget that visual content is as much as 40x more likely to be shared!
Pinned post
A pinned post starts out life as a normal post you create, but the ‘pinned’ part means it stays at the top of your timeline, no matter what else you share or write.
Therefore it’s a good place to pin important and eye catching information – Not necessarily ‘About You’, as you have a section for that already.
But how does it become a pinned post?
- Click on the ‘Create post’ section at the top of the page’s timeline.
- Enter the content (if text).
- Add photos or videos (if required) by clicking on the ‘Photo/Video’ button.
- Click the ‘Post’ button to publish it.
- In the top right hand corner of the new post, click on the three dots to open a menu.
- Click on ‘Pin to top of page’. a. If the option doesn’t show, then you may need to click on ‘See more options’.
- The post will move to the top of your timeline, and it will gain a new icon in the top right corner of a blue box with a white tack.
Call to Action
The best way to get a visitor moving in the right direction is to give them a button to push – Everyone loves to push a button!
Clicking on the blue ‘Add a button’ option lets you setup a button with a custom action attached:
- Book with you.
- Contact:
a. Contact us
b. Sign up
c. Send message
d. Send email
e. Call now - Learn more about your business
- Shop with you
- Download your app or play your game.
Select the right CTA for your business, and follow the prompts to get that nice, shiny button up on your page.
A CTA button is a great way to tip a visitor into a prospect or customer, by giving them an easy option to take.
Templates
When looking at your page and how to structure it, Facebook has a range of templates available for you to start with, based on the type of business you are building the page for. Each template has pre-added buttons and tabs to get you started – What you do with it afterwards is up to you! It’s always an option to try one.
Tabs allow you to give people structured access to features like reviews and events without them needing to scroll to the bottom of your page, or navigate 2 or 3 levels deep into menus.
Reviewing the templates available to you is easy – select ‘Settings’ at the top, and then ‘Templates’ from the left hand menu.
Publish your page once it is ready
When you have finished your preparation, and you’ve double checked everything, the boss has signed it off… There’s only one step left.
On the left hand side of the page, you’ll see a big, green button labelled “Publish Page”. Once you click on that, then you’re public. Everyone can see, and everyone will have an opinion.
Who is managing and contributing to your page?
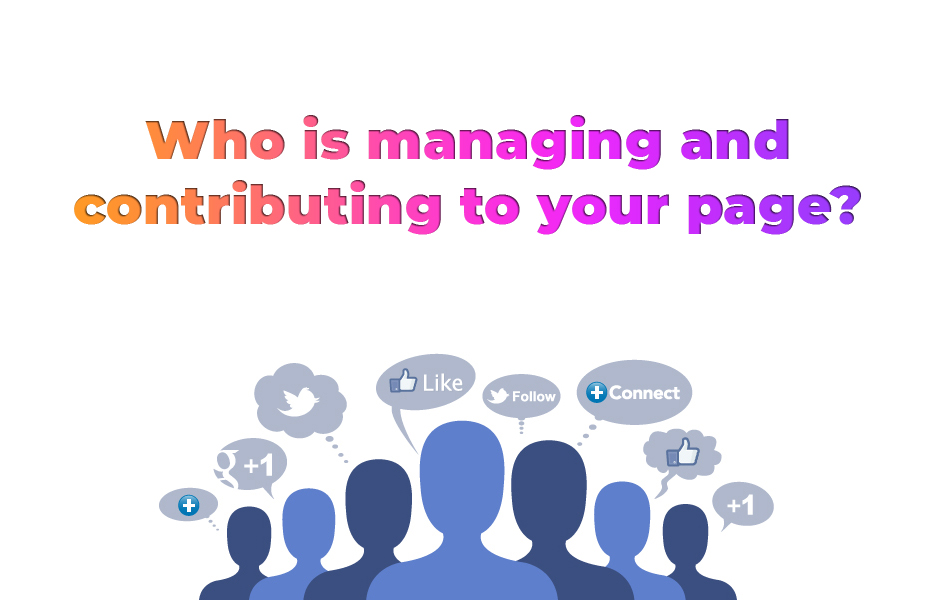
If you click on ‘Settings’ at the top right hand corner of the page, then find ‘Page roles’ in the left hand menu.
This lists the people who already have a role in managing and running the page (‘Existing Page roles’), at the bottom, and it allow you to assign a new page role to a new person (‘Assign a new Page role’).
Facebook offers 5 different page roles:
- Admin – Admins can do anything to the page – managing roles and settings, edit the page itself, communicate as the page, create and delete posts, ads – Even ban people. Anything another role can do, the Admin can do.
- Editor – Editors can do anything BUT manage and set roles and settings for the page.
- Moderator – Moderators are concerned with the posts on the page and comments. They can edit and delete posts, communicate as the page, ban people, even see the insights and other analytics about posts. They cannot create and manage job postings.
- Advertiser – Advertisers are much more focused. They can create and revise ads, see the insights and analytics, even see who published posts on behalf of the page.
- Analyst – Analysts are the role with the least privilege and the most focused role, they can see who posted as the page, and the insights and page quality feedback.
How you assign people to those roles enables you to avoid issues with security and access, while still doing their jobs. Giving too much access to someone might lead to issues, and not even maliciously. Someone who can post on behalf of the page might post an inflammatory comment on someone else’s post by mistake, and that can affect your brand severely, for example.
What makes a good Facebook Business Page stand out?
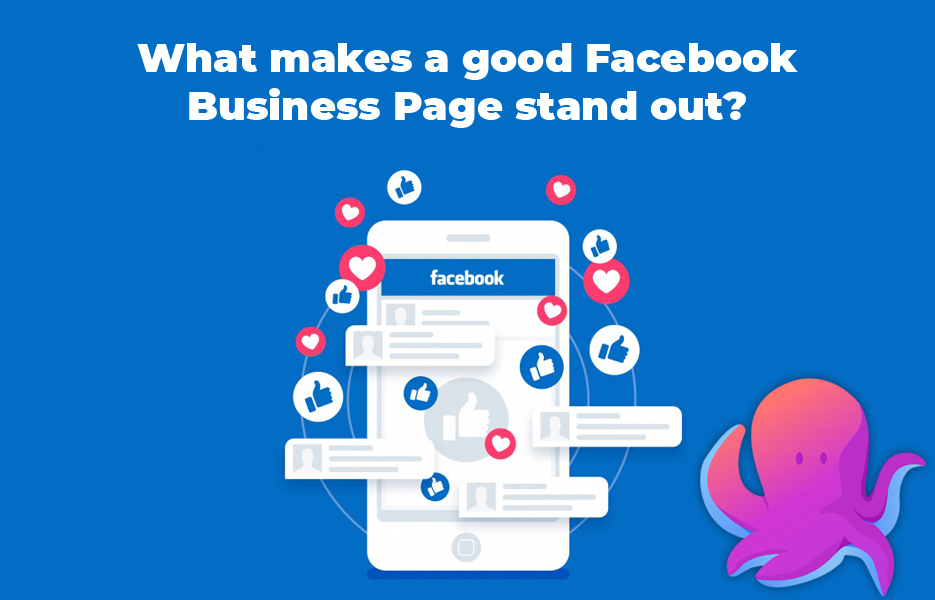
Build connections – Like other pages!
One way to gain the attention of others, and to start building community and relevance is to have your page like other pages that are relevant to your business (not competitors!). They might like you, and people who look at your page can see by those likes (as well as posts you share) that you know the industry, follow the right people, and know what you’re talking about. Therefore they will be more inclined to trust the quality of your products and your judgement on value.
In addition, if you’re a retailer, connect with other local businesses to show you really are based locally, provoking loyalty from local customers and opening up opportunities to build value with and promote to other business’ customers.
How do I ‘Like’ another page as my business page?
When you reach the Facebook page of the business or organisation you want to like, find the three dot icon (‘more’) below the cover photo, to the left. In the menu that pops up, click the option to ‘Like as your page’. If you are only managing one page, then that will do it.
If you are managing more than one page, then at this point you will need to choose which page to like as.
Backlinks are important for business pages, too
Facebook Business Pages need SEO, too. So work to have links to your business page on related sites (including your own) in order to improve its perceived relevance in the eyes of search engines, and therefore it’s visibility when people search – If your home page AND your Facebook Business Page show up in searches, you have 2 chance for prospective customers to follow your pages and content into a purchase!
Use the tools available to you
Facebook offers a range of powerful tools that show you how well your posts and page are performing, and let you refine your approach based on feedback. This information can be found in the ‘Insights’ tab (Page Insights). If this option doesn’t show, then you may have to click on the ‘more’ icon (triple dots to the top right).
The first thing you’ll see is the overview page (Also reached by clicking ‘Overview’ on the left hand side).
This page contains insights on a number of areas, and can cover the previous day, 7 days, or 28 days:
- Actions on page – A total of the number of clicks by visitors on your contact information or CTA button.
- Page views – The total number of views on your page, including non-Facebook users (Those not logged in).
- Page likes – The number of new likes for your page.
- Post reach – The number of people who have seen your posts on their timeline.
- Recommendations –The number of people that recommended your page to others.
- Post engagements – The combined total of engagements with your posts (likes & reactions, comments, shares, etc.)
- Post responsiveness – A metric to reflect how fast and how often you respond to messages.
- Videos – The number of times one of your videos has been viewed (only counts views last more than 3 seconds).
- Page followers – The number of new followers on your page (includes likes)
- Orders – Any orders through your page including earnings.
Under this is a list of ‘Your 5 most recent posts’. As well as showing reach and engagement, you have the option to boost one of those posts from here based on their performance.
There is also a section entitled “Pages to watch”. You can add pages for other companies here to monitor them and compare performance. You can add competitors, but you can also add in companies that are held up as leaders in their field to compare what they are doing to your own page. This lets you identify things you can try yourself, with less trial and error.
If you click on ‘Posts’ in the left hand menu, you’ll open a specialised dashboard. This has 3 tabs:
- When your fans are online
- Post types
- Top posts from pages you watch
Depending which tab you select, some of the reports will change as well as their content.
The ‘All posts published section’ won’t change, however. It shows several columns – What type of post, if it was public or targeted, and who/how many people it reached. In addition, it shows the engagement for each post (The number of likes and other reactions as well as shares and comments). It also gives you a ‘boost’ button for each post to promote them.
‘When your fans are online’ displays a graph for a chosen time period showing the levels of people that like your page that are online at during that time. By hovering the cursor over the line on the graph at a given time you can get a precise number of people for that point in time. The ‘Daily’ boxes over the graph also let you look for patterns. When planning your posts, you want to catch the busiest times to be at the top of their timelines, and these numbers help you identify the days AND times this is so –People will often have different browsing patterns at weekends, for example.
‘Post types’ breaks up your posts by type and gives you an aggregate view of how well they perform for you.
‘Top posts from pages you watch’ highlights the engagement numbers for the top performing posts by the pages you’ve chosen to watch by adding them to your main ‘Insights’ page under ‘Pages to watch’. It gives you some inspiration on what you can do that might get better results for your page and attract more prospects and leads.
You can click on the ‘Actions on page’ option in the left menu of Insights, to see how many people have clicked on your call to action button, as well as your website, phone number and email address links. Furthermore, the results for these data sets can be broken down demographically:
- Age
- Gender
- Country
- City
- Device
Again, these let you see how well your page content is working for people in your target demographics, as well as when they’re at home or on the move.
Review and consider your targeted audience and demographics
If you’re consistently hitting a different demographic to that expected then it may be worth both evaluating your content, and reconsidering the people you’re targeting to see if you need to expand and review for better growth.
Ultimately, be realistic – If you’re getting more sales than expected from other demographics, then consider having different types of content – Some that works for them, and some that is retargeted on the original target audience.
Consider using the Facebook Audience Analytics tool as well, for further detail.
Overall, don’t get too attached to one strategy. You may have been mistaken, or things may change – for the business to thrive, it (and you) must learn, and change. If it doesn’t work, let go of it, and find out what will from your competitors, from other companies that are doing well, or just by talking to your customers!
Consider targeted posts
When crafting a post, there may be a small symbol like a ‘target symbol’ fourth in from the left hand corner. This allows you to set targeting for the post. If you cannot see it, this may be because your page doesn’t have it enabled (This is common where you have less than 5,000 likes).
To check that this is enabled (and permitted for your page):
- Click ‘Settings’ at the top of your page.
- Under ‘General’, click the option ‘Audience optimization for posts’.
- Check the box (click) labelled ‘Allow news feed targeting and the ability to restrict the audience for your posts’ to enable the option.
- Click ‘Save changes’.
If the control is present, clicking on it offers a window with 2 tabs:
Preferred Audience/News Feed Targeting – Search for interests – Target the post on people that have those interests (Increasing he likelihood they will see that post).
Audience Restrictions – Audience restrictions have the inverse effect – Limiting the audience that might see your post. You can select age ranges or search for interests to add to the limitation.
Tweak the structure and content on your page as needed
When you review the information about people interacting with your page, including your CTA button and other links, consider them in relation to your original intentions for the page.
Are they clicking on your page link more than your CTA button? Maybe this means it has the wrong action associated with it. Maybe you need to review the pinned post, to see if you can ‘nudge’ people more effectively to take the actions you want them to. Your Facebook Business Page is, in essence, a marketing asset, and you want it to perform the function(s) allotted to it effectively.
Timing is everything
Don’t just get the right kind of content – Post and share it when your audience is looking, so it’s at the top of their timeline.
‘When your fans are online’ lets you see the best days and times for these posts. It doesn’t matter how good or appropriate your posts are, if the people you’re targeting don’t see them, buried under a cloud of content and posts from their friends and your competitors
When you pick your times and days, stay consistent –This may not be easy when manually posting, so consider scheduling software like Hootsuite.
When is a Facebook Business Page finished?
That’s a trick question. Like anything to do with selling or conducting business online, it’s never finished.
You should be regularly reviewing the changes Facebook makes to its features and policies for a start.
And you should be regularly revisiting your insights and metrics to see what is and isn’t working, and who your audience is, and is becoming. The right answer for today is not necessarily the right answer yesterday, or tomorrow. Don’t think of it as a ‘wrong’ answer – You just need to be open to respond to the needs of the business and your customers. Otherwise the business can’t adapt and grow, which means it will be doomed to stagnate and die.
Promote your page through Ads
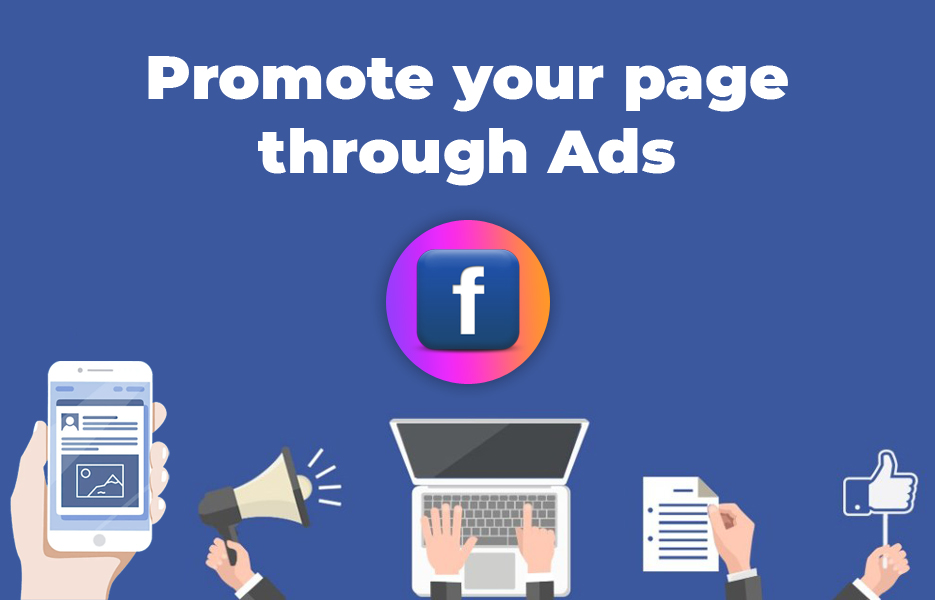
Don’t forget to consider allocating budget for ads to promote the new page. This functionality can be accessed via the three dots at the top right hand corner of the page (‘More’), and selecting ‘Create Ad’ from the menu.
You can then create an ad, starting with a marketing objective. Awareness, Consideration or Conversion (each has sub-options), and then selecting a target audience, where on Facebook to place the ad, and then your budget. It will ask for images or ad copy – this should be prepared and reviewed in advance to ensure it’s suitable to represent and promote your company or brand.
Should I create a secondary ‘professional’ profile to associate with my Facebook Business Page?
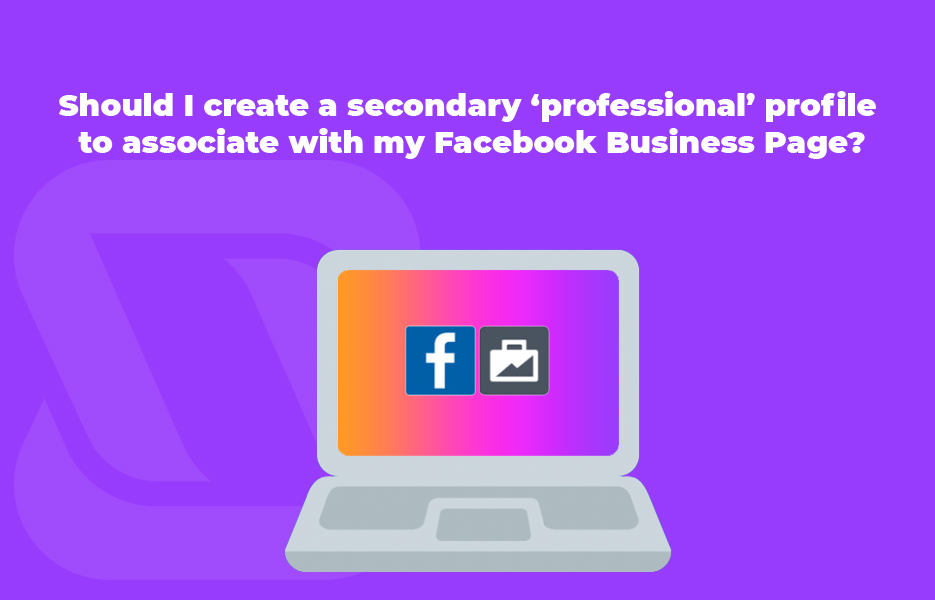
This isn’t recommended.
Firstly, it’s against Facebook’s Terms of Service to have more than one personal profile (You read them before you signed up, of course, so you know this). Therefore, if you have 2 profiles, Facebook will close both and bar you. This would make it hard to administer your Facebook Business Page.
Secondly, if you are paying attention to the security and privacy of your own profile, it shouldn’t be necessary for a ‘professional’ Facebook profile. That’s what LinkedIn is for!
It also makes it a lot easier for you to keep track of things when you only have the one profile.
A Facebook Business Page is a valuable asset for any business, both for promotion and for contact and interaction. You shouldn’t use a personal profile for your business, as:
- It’s a violation of Facebook’s Terms of Services to have multiple profiles.
- Facebook Business Pages have a wide range of additional services and reporting tools included.
A profile can still be converted to a Facebook Business Page.
When creating a Facebook Business Page:
- Ensure that you have the right images for the page and its cover photo.
- Customise the Page address to make it easier to find and in sync with your brand.
- Fill in the details correctly, including ‘Your Story’.
- Remember to have posts at launch.
- Pinned posts are a powerful tool for making a first impression.
- A call to action button should be implemented.
- If you’re unsure of how you want to structure the page, consider starting with a template.
- Only publish when you’re happy with the page.
You should use the Page Roles to manage the access of team members working on the page – This will avoid mistakes as much as anything.
A good Facebook Business Page:
- Has connections to other relevant and related pages by liking them (Not competitors, of course).
- Uses Backlinks (Links from relevant external pages) for SEO.
- Is regularly checked, with the figures and analytics reviewed to ensure the site and its content are doing their job.
- Uses targeted posts where necessary to manage which audiences see posts on their timeline.
- Has a posting schedule based on analysing the activity of its users to ensure maximum visibility.
Most of all, you shouldn’t be afraid to study what does and doesn’t work, and change the page to reflect this. Pages are constantly evolving, like your business. Use the insights and analytics from the page to see who your audience is, and be open to adapting.
DropShip products from verified suppliers to diversify your inventory and scale your eCommerce business